Fonts and tilesets
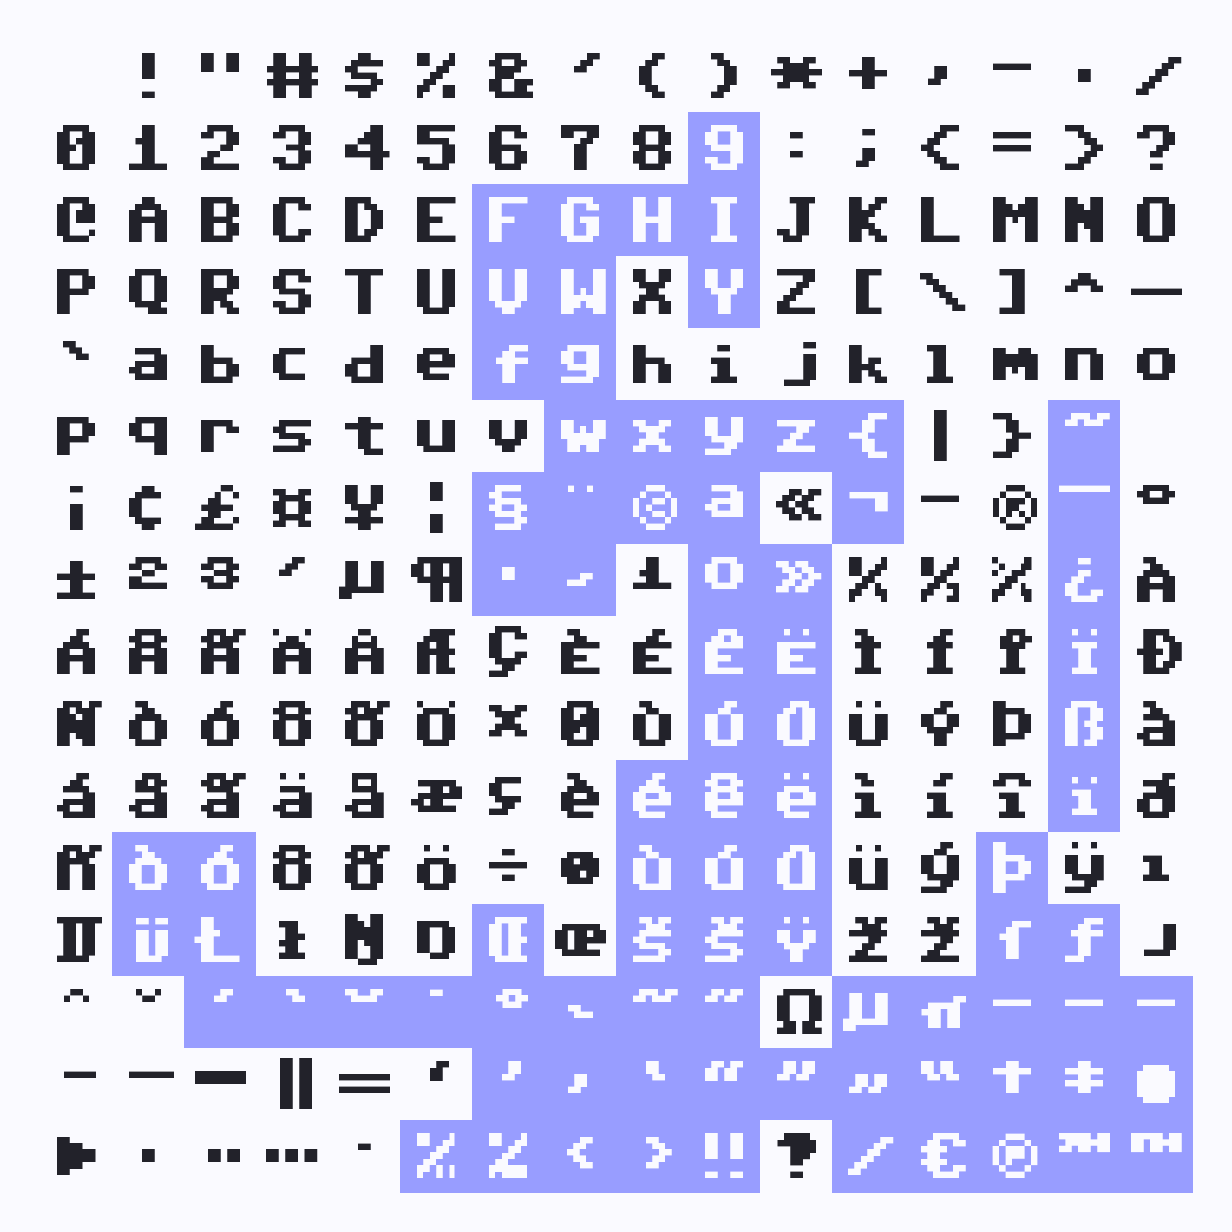
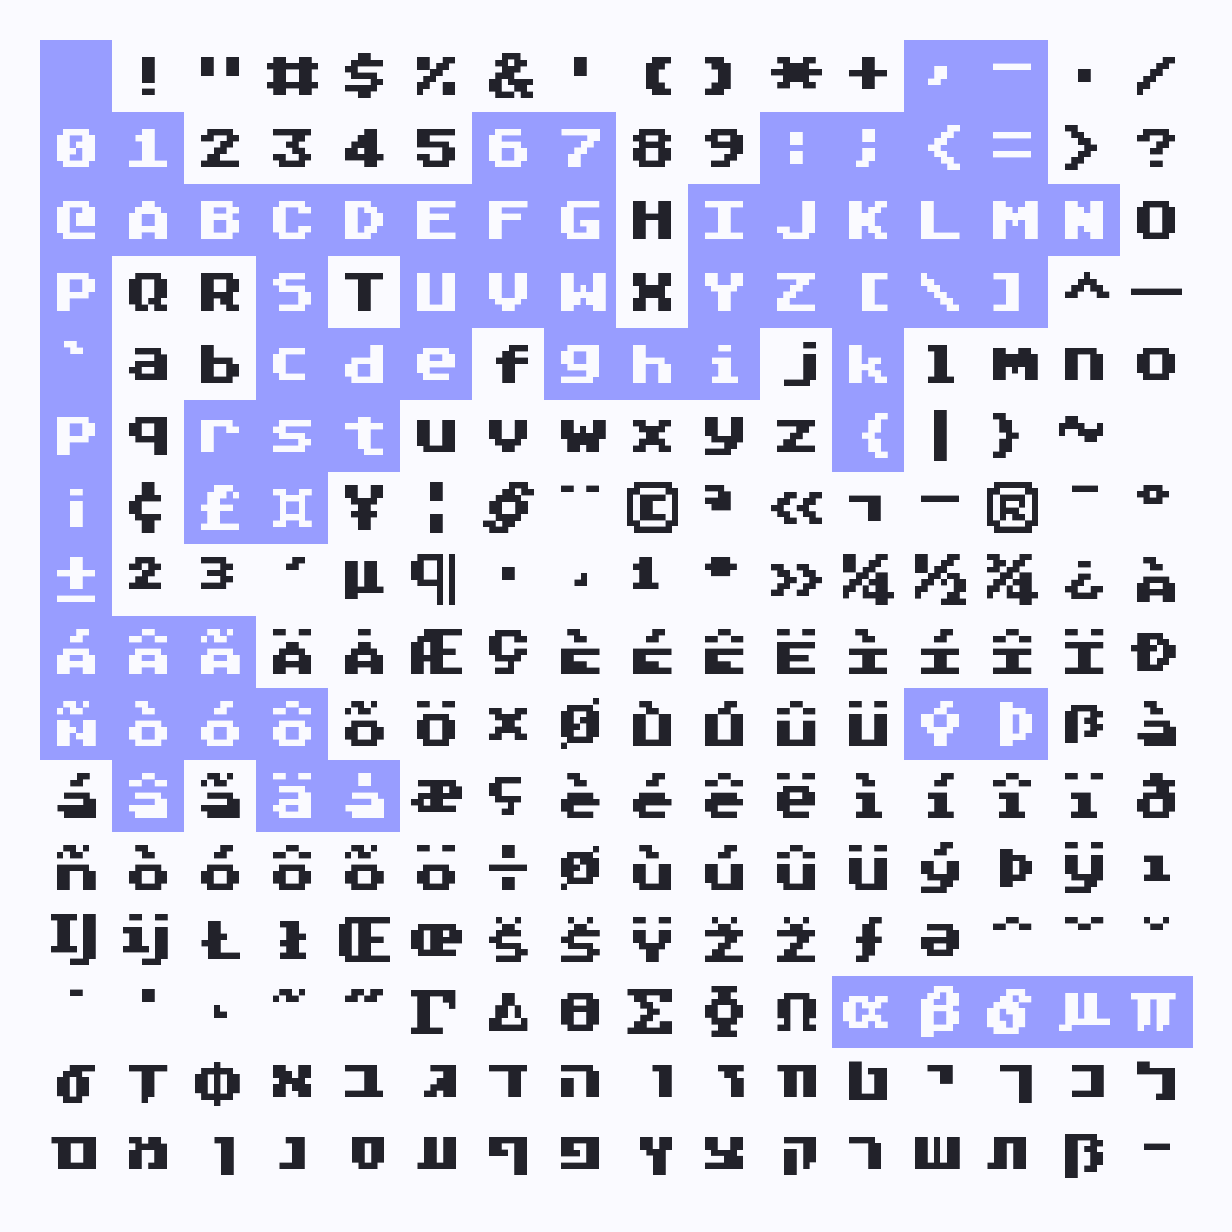
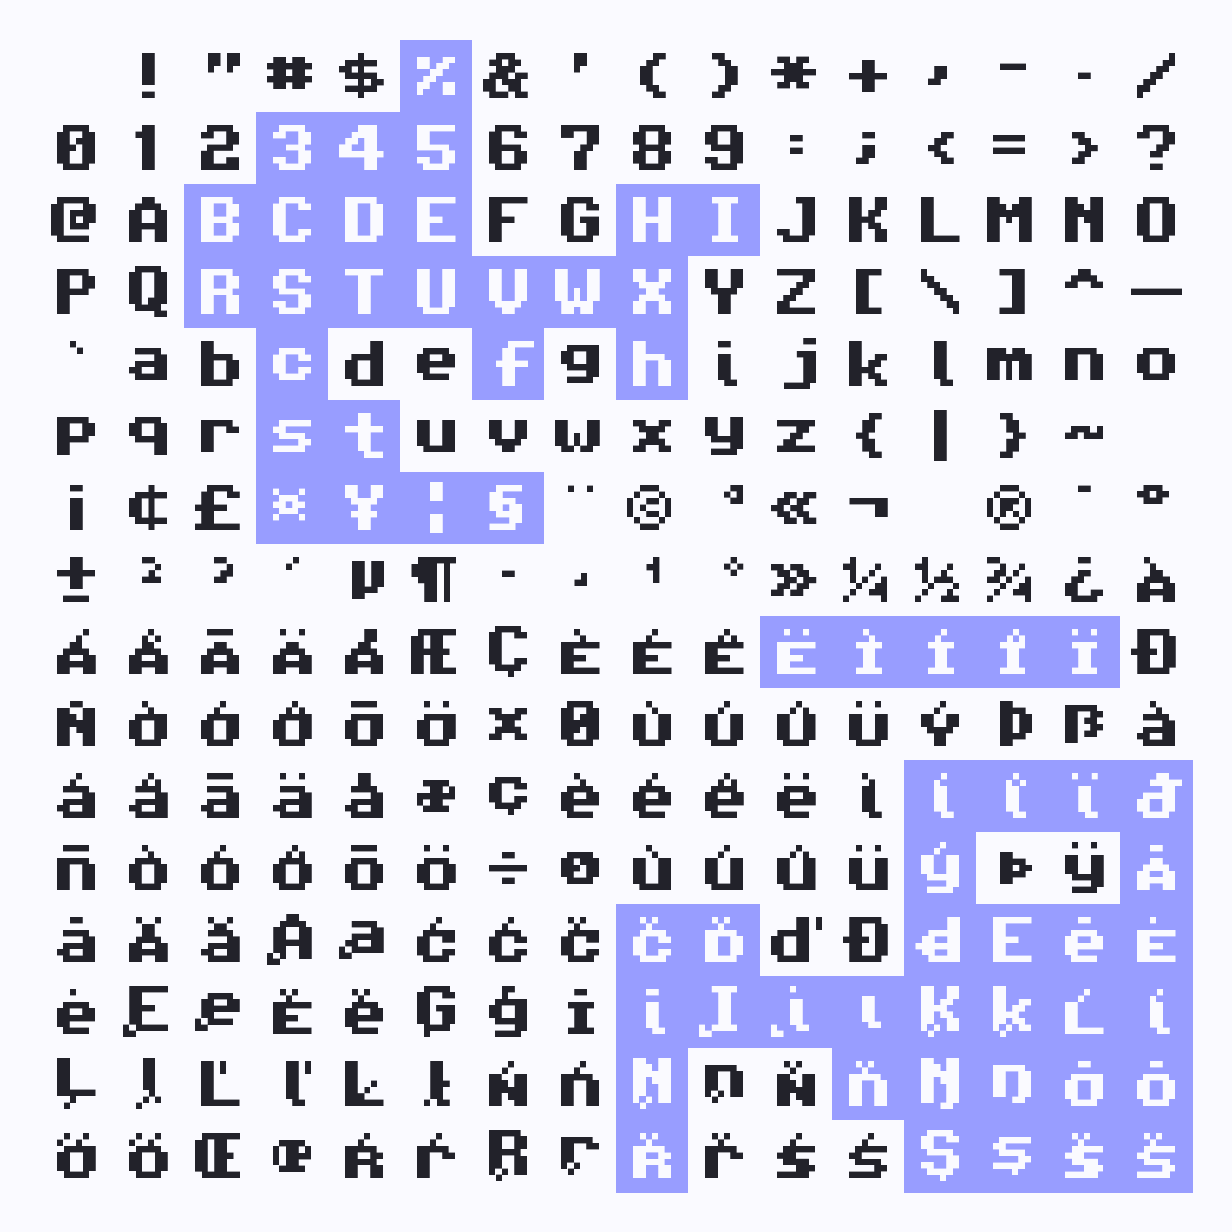
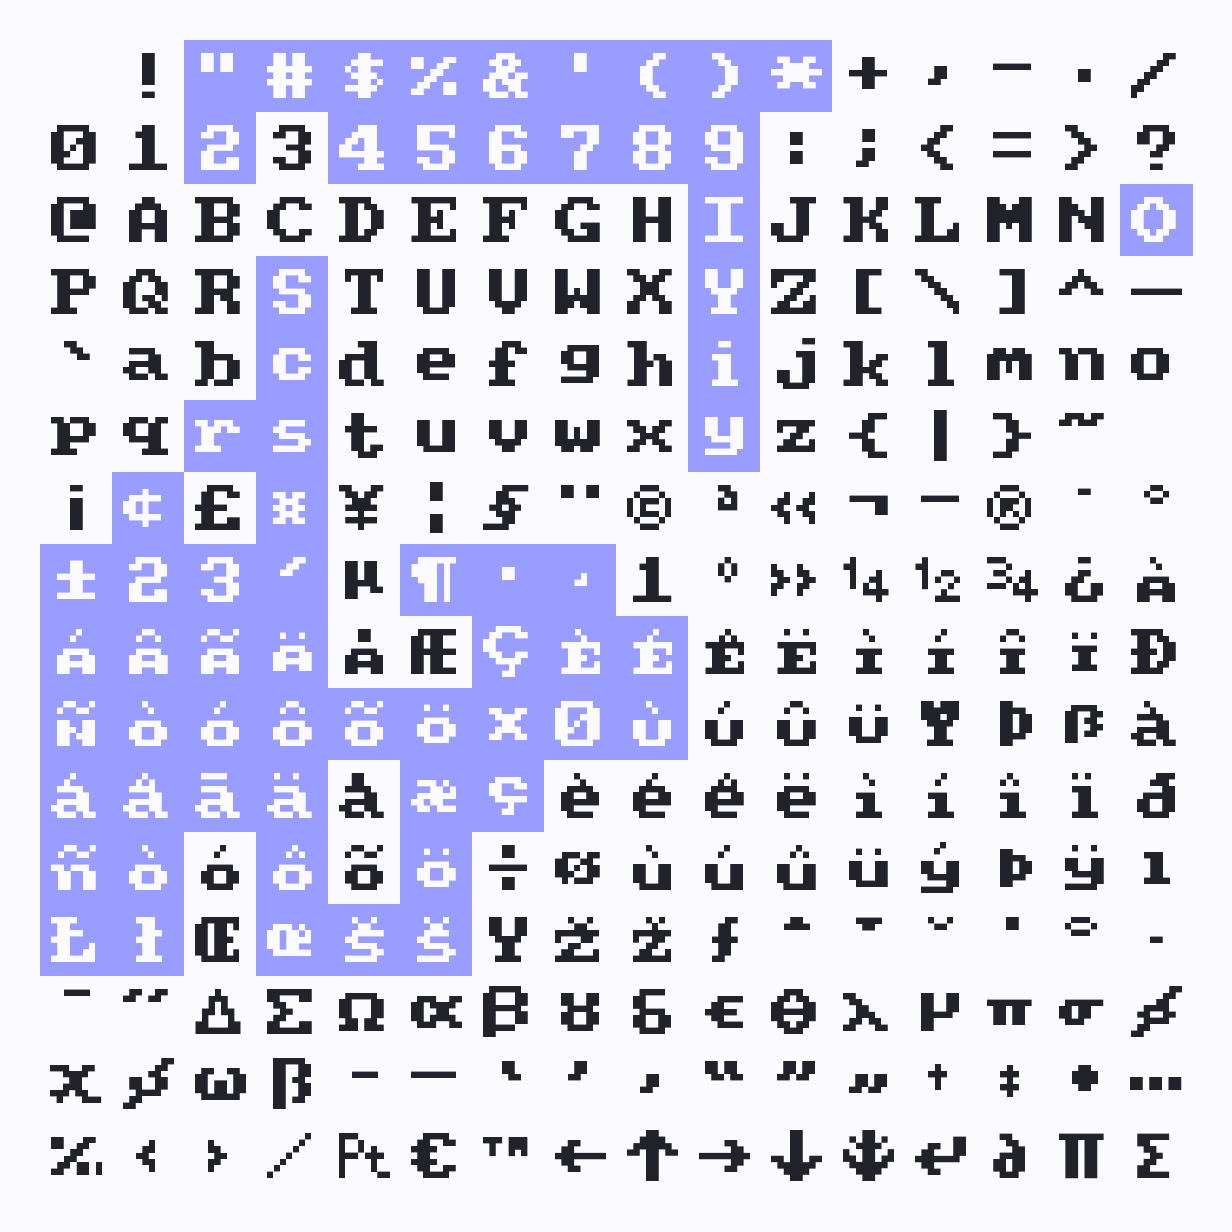
Every textmode.js layer renders through a glyph atlas. That atlas can come from either a vector font or a bitmap tileset. (⌐▨_▨)
- Use a
TextmodeFontwhen you want characters extracted from a font file such as.ttf,.otf, or.woff. - Use a
TextmodeTilesetwhen you want to render from an authored image sheet, such as a PETSCII, terminal, or sprite-style character set.
The active glyph source for the base layer is exposed through t.font. Depending on what you loaded, it will be either a TextmodeFont or a TextmodeTileset.
Default behavior
If you do not load anything manually, textmode.js starts with its embedded default font.
const t = textmode.create({
width: 800,
height: 600,
fontSize: 16,
});The fontSize option controls the effective cell size of the base layer grid.
Loading vector fonts
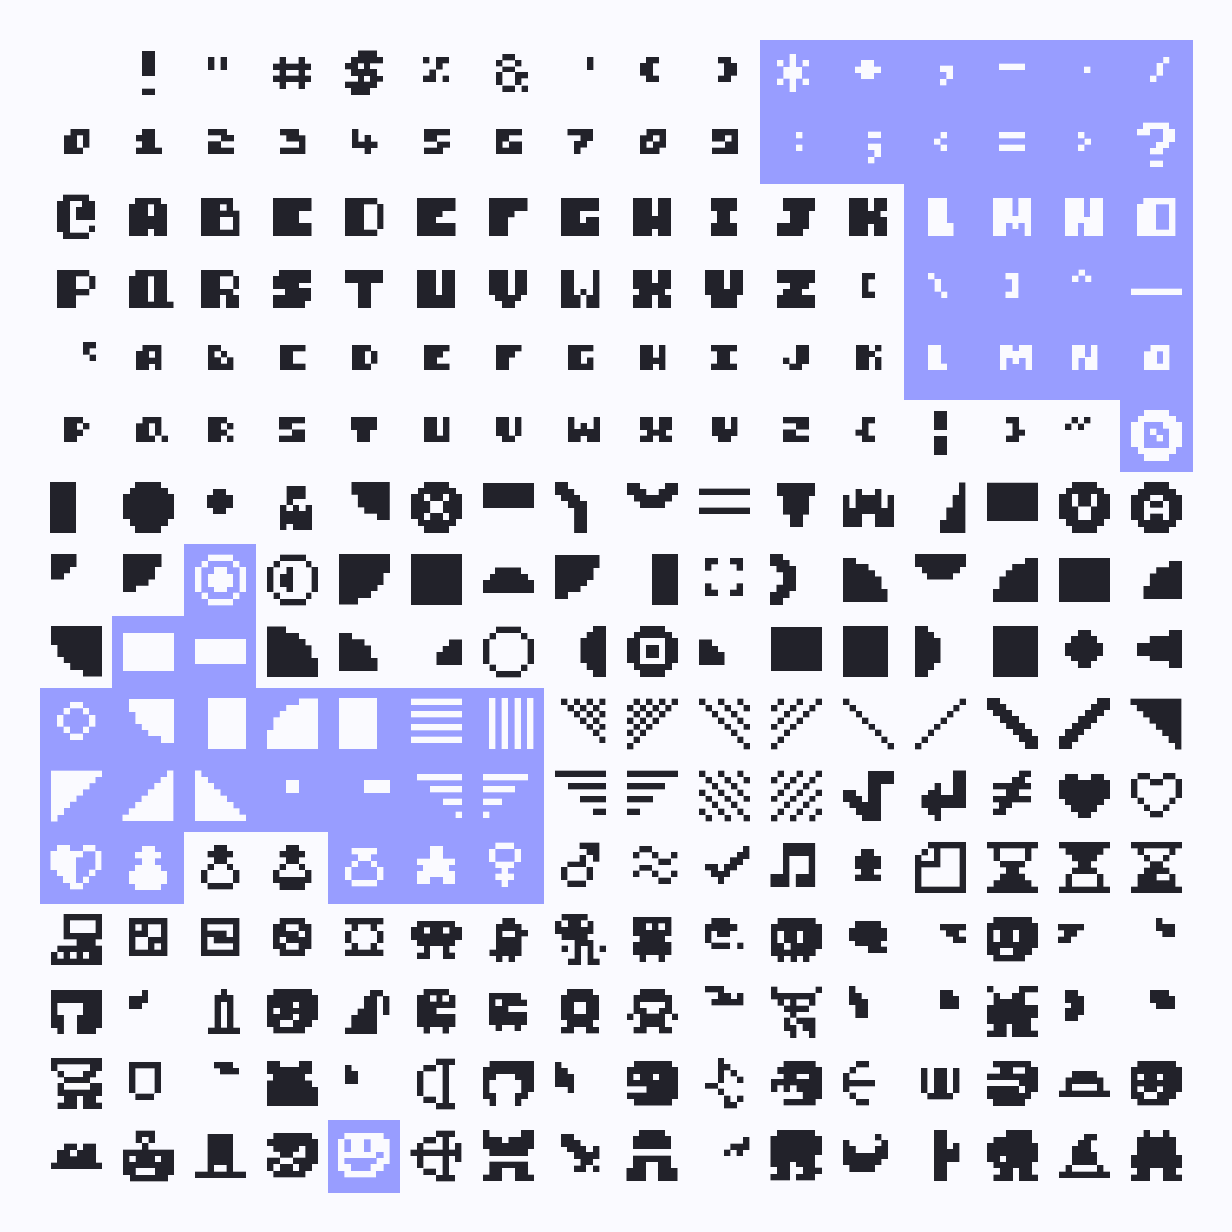
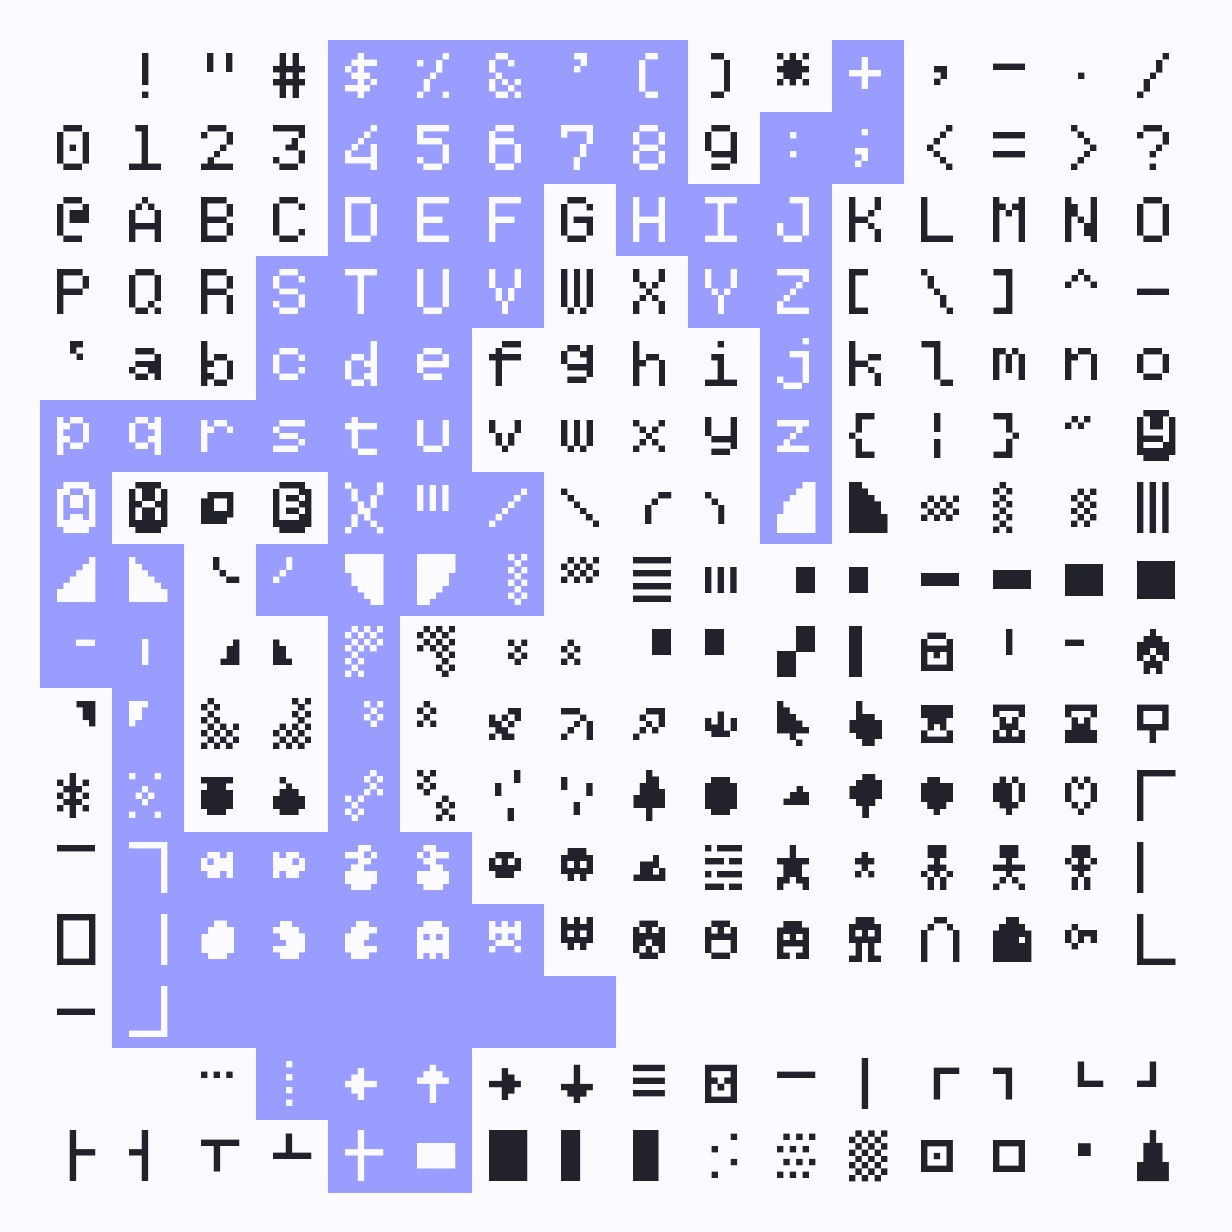
Vector fonts are the right choice when you want scalable glyph outlines, broad Unicode coverage, or font-based aesthetics rather than authored pixel tiles.
Initialize with a custom font
Use fontSource during textmode.create():
const t = textmode.create({
width: 800,
height: 600,
fontSize: 16,
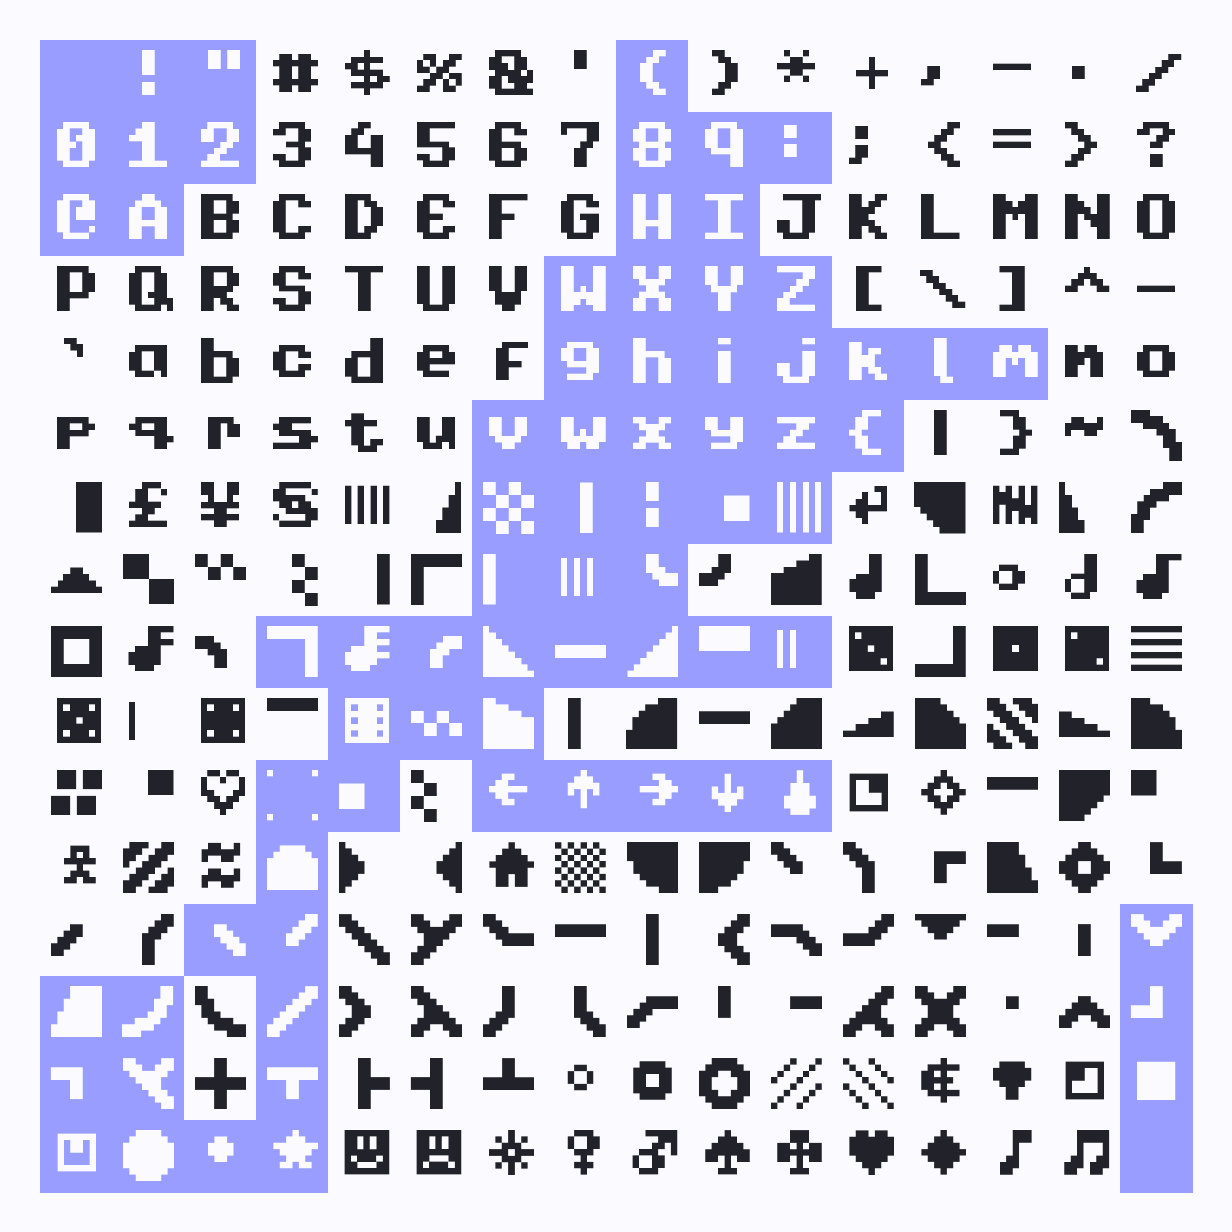
fontSource: "./fonts/FROGBLOCK-V2.1.ttf",
});Load a font later
Use t.loadFont() to replace the base layer font after initialization:
t.setup(async () => {
await t.loadFont("./fonts/FROGBLOCK-V2.1.ttf");
});loadFont() also accepts a second setActive argument. When set to false, the font is initialized and returned without changing the active base-layer glyph source:
const accentFont = await t.loadFont("./fonts/CHUNKY.ttf", false);This is useful when you want to preload a font and apply it to another layer later.
Reuse a font on another layer
Each layer can load its own font through TextmodeLayer.loadFont():
const t = textmode.create({ width: 800, height: 600 });
const accentLayer = t.layers.add({ fontSize: 16, blendMode: "additive" });
t.setup(async () => {
await t.loadFont("./fonts/FROGBLOCK-V2.1.ttf");
const accentFont = await t.loadFont("./fonts/CHUNKY.ttf", false);
await accentLayer.loadFont(accentFont);
});Layer-level font loading creates a layer-local fork, so different layers can use different glyph sources without stepping on each other.
Loading bitmap tilesets
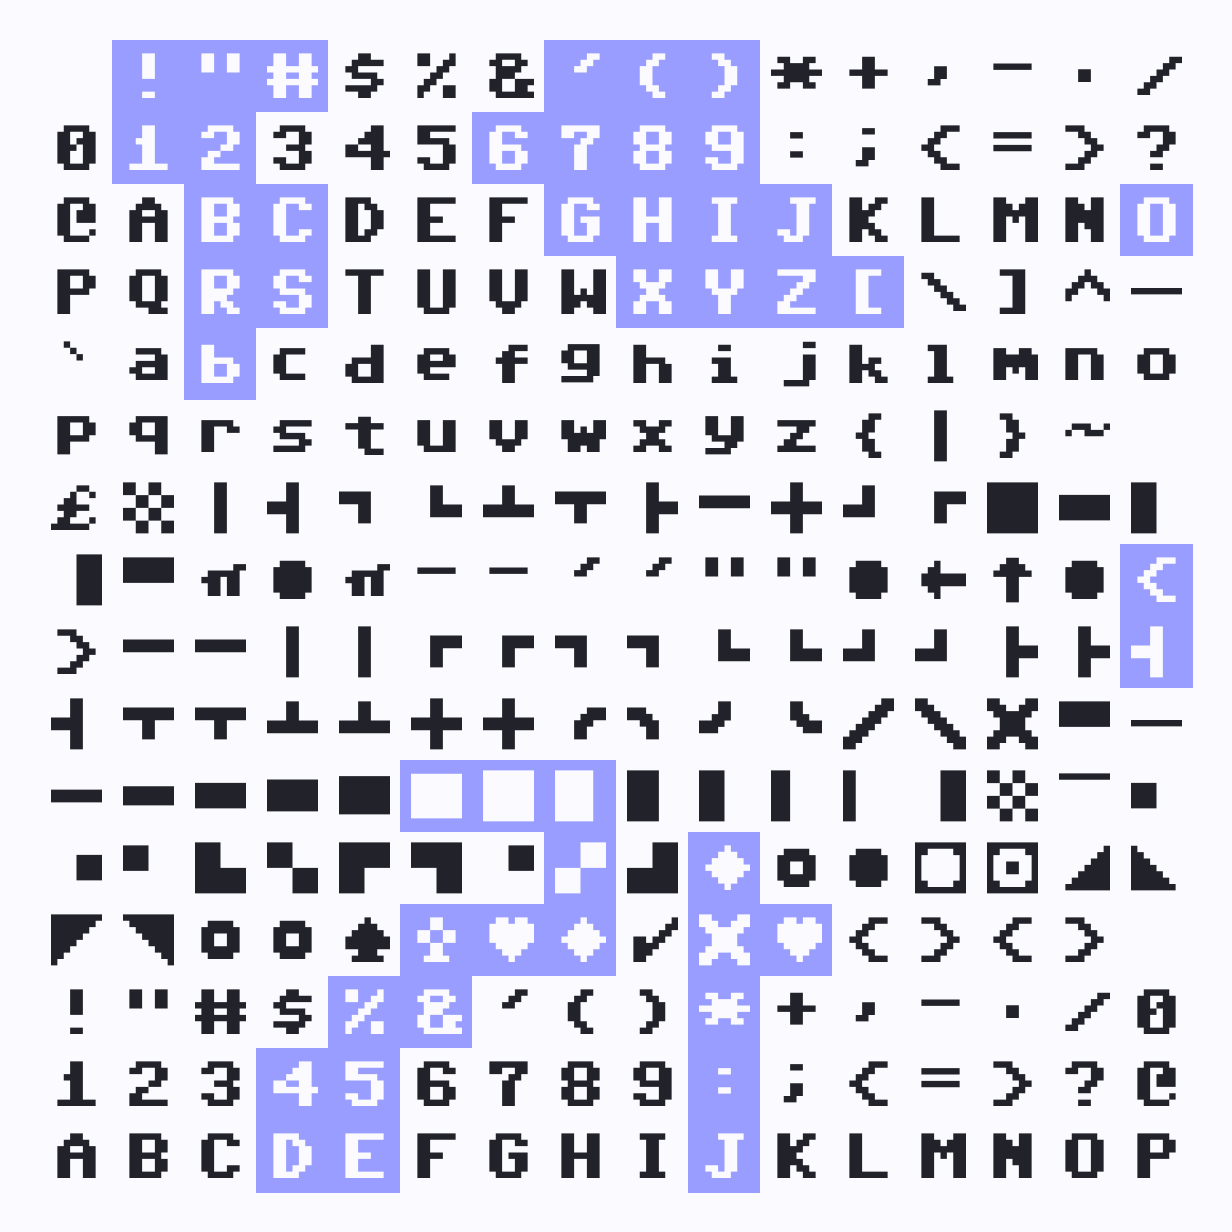
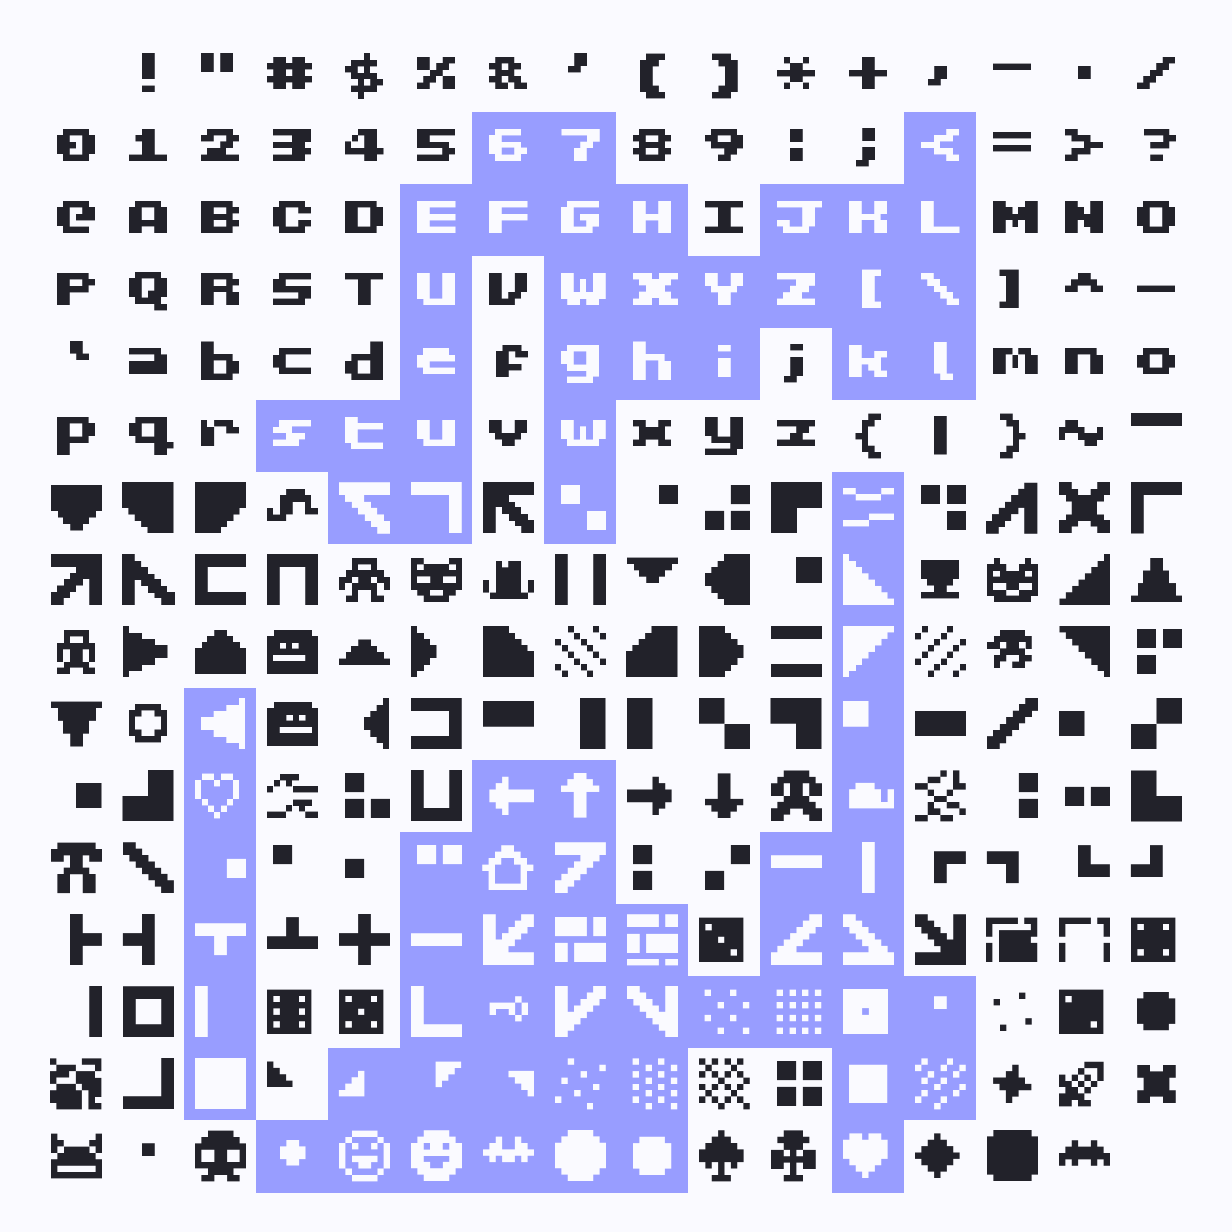
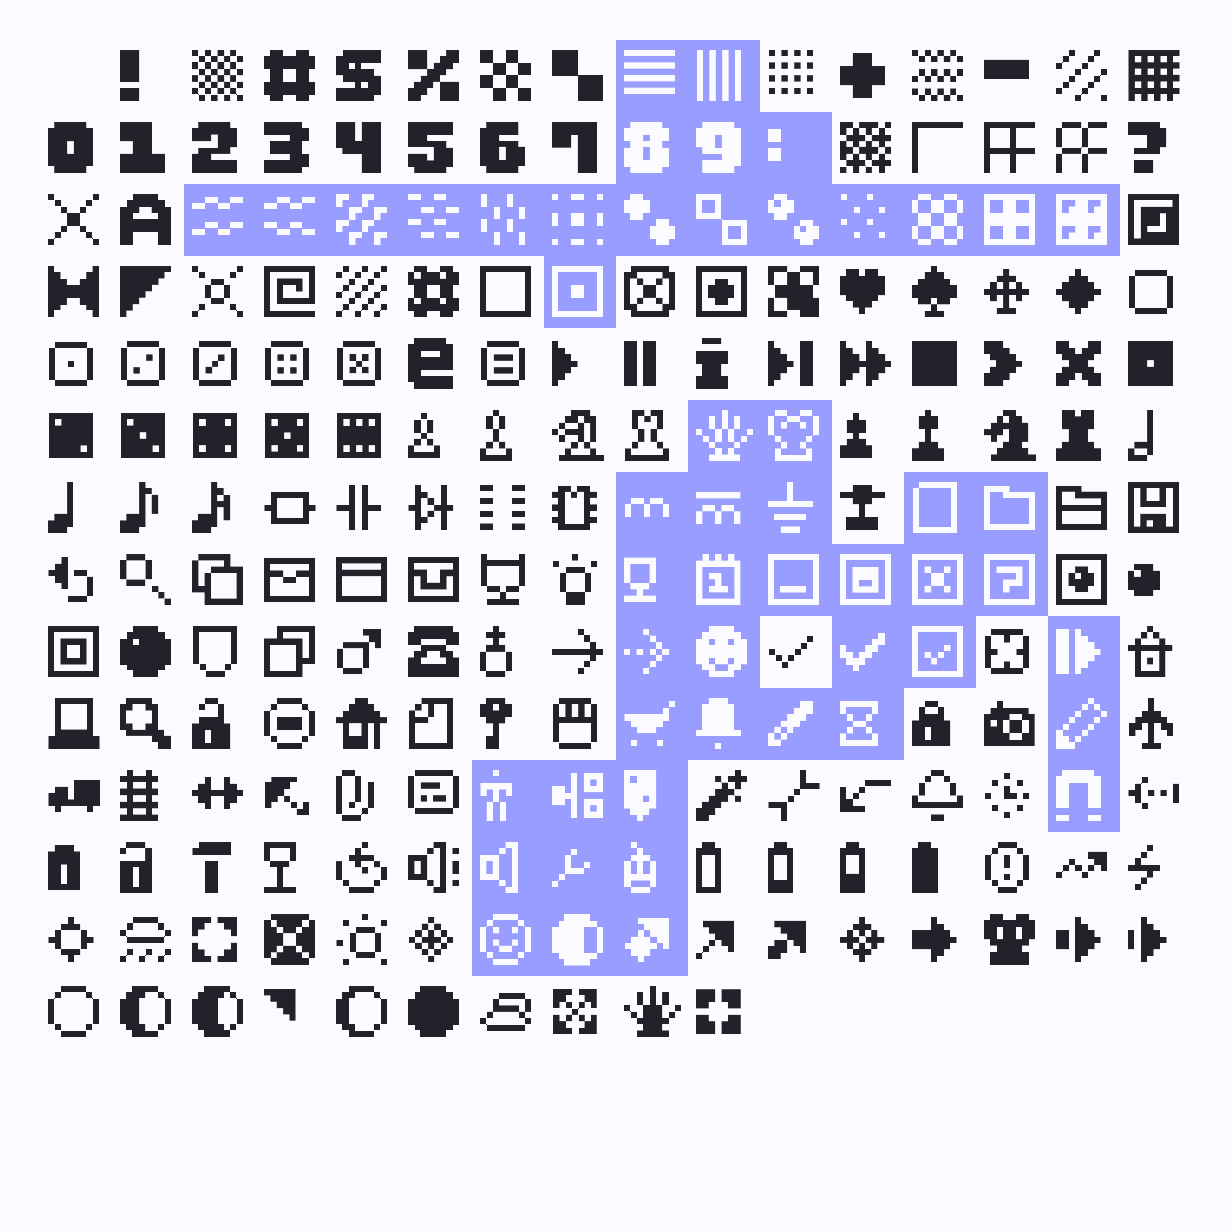
Bitmap tilesets are useful when you want exact pixel-authored glyphs, console character sheets, icon atlases, or custom sprite-like cell art.
Use t.loadTileset() to load a tileset into the base layer:
let tileset;
t.setup(async () => {
tileset = await t.loadTileset({
source: "./tilesets/T64.png",
columns: 16,
rows: 16,
count: 256,
});
});Like loadFont(), loadTileset() also accepts setActive = false so you can preload a tileset and assign it later:
const sharedTileset = await t.loadTileset(
{
source: "./tilesets/T64.png",
columns: 16,
rows: 16,
count: 256,
},
false,
);Reuse a tileset on another layer
Use TextmodeLayer.loadTileset() to apply a tileset to a specific layer:
const tilesLayer = t.layers.add({ fontSize: 8 });
const previewLayer = t.layers.add({ fontSize: 32, blendMode: "additive" });
t.setup(async () => {
const tileset = await t.loadTileset(
{
source: "./tilesets/T64.png",
columns: 16,
rows: 16,
count: 256,
},
false,
);
await tilesLayer.loadTileset(tileset);
await previewLayer.loadTileset(tileset);
});As with fonts, layer-level tileset loading creates a layer-local fork.
Tileset options
TextmodeTilesetOptions controls how a bitmap sheet is interpreted:
source: image URL,URLobject, or existingCanvasImageSourcecolumns: number of columns in the authored sheetrows: number of rows in the authored sheetcount: optional number of tiles to importmargin,marginX,marginY: outer margins in pixelsspacing,spacingX,spacingY: spacing between tiles in pixelsmap: optional explicit character mappingfontSize: optional effective output cell height
This makes it possible to import sheets that are tightly packed, padded, or arranged for other tools.
Mapping tiles to characters
Tilesets need a character mapping so textmode.js knows which character or glyph index each tile represents.
If map is omitted, tiles are assigned sequentially starting at Unicode code point 32 (space).
For explicit mappings, map can be:
- a
.charfile URL or path - an inline grid string
- an array of row strings
Inline mapping example
await t.loadTileset({
source: "./tilesets/icons.png",
columns: 4,
rows: 2,
map: ["ABCD", "EFGH"],
});In that example:
- tile
0maps to'A' - tile
1maps to'B' - tile
4maps to'E'
You can then draw by character:
t.char("A");
t.point();Or by numeric glyph index through char():
t.char(0); // first glyph in the active atlas
t.point();Numeric indices are often useful when your tileset contains private-use glyphs or symbols that are awkward to type directly.
Tile colors vs recoloring
By default, tilesets still participate in the normal textmode color pipeline, so authored tile pixels are remapped through the current character and cell colors.
If you want to preserve the original colors from the tileset image, use:
t.useTileColors()for the base layerlayer.useTileColors()for a specific layer
t.setup(async () => {
await t.loadTileset({
source: "./tilesets/colored-icons.png",
columns: 16,
rows: 16,
count: 256,
});
t.useTileColors(true);
});When useTileColors() is enabled, the authored bitmap colors are used directly during the final ASCII pass.
Sizing behavior
fontSize() affects both vector fonts and tilesets, and in both cases the visible glyphs become larger or smaller. The difference is where that size change happens.
Vector fonts
For a TextmodeFont:
- the font is rasterized into a glyph atlas at the current font size
- changing
fontSize()rebuilds the glyph atlas - grid dimensions update to match the new glyph size
Tilesets
For a TextmodeTileset:
- the authored bitmap atlas stays at its native tile resolution
- changing
fontSize()changes the effective output cell size, so the rendered tiles also appear larger or smaller on screen - the layer grid updates to match that new cell size
- the native tileset image is not re-sliced or re-authored at a new resolution
In practice, vector fonts resize by regenerating glyphs from font outlines, while tilesets resize by drawing the same authored tile images into larger or smaller output cells.
Inspecting the active glyph source
Both TextmodeFont and TextmodeTileset expose a shared glyph-atlas surface:
characterscharacterMapframebuffer- cell and atlas dimensions
Since t.font can be either class, you can still inspect shared glyph data in a uniform way:
t.draw(() => {
const glyphSource = t.font;
const glyphCount = glyphSource.characters.length;
t.background(0);
const label = `GLYPHS: ${glyphCount}`;
for (let i = 0; i < label.length; i++) {
t.push();
t.translate(i - label.length / 2, 0);
t.char(label[i]);
t.charColor(255, 255, 255);
t.point();
t.pop();
}
});When you need tileset-specific information such as authored tile dimensions, see the TextmodeTileset API directly.
Choosing between fonts and tilesets
Use a vector font when you want:
- scalable outline-based glyphs
- broad text and Unicode coverage
- typography-driven visuals
Use a bitmap tileset when you want:
- exact pixel-authored glyph shapes
- console or terminal character sheets
- icon-like or sprite-like cells
- preserved authored colors via
useTileColors()
Discover more fonts
The curated font list lives in awesome-textmode: